Intermediate Surf Maneuvers 101

surfing

At Safari Surf School, we host surf travelers of every level, from total beginners to experienced chargers. No matter what level of surfer you are, we can help you improve, whether you’re a total novice who wants to catch your first wave or an advanced surfer looking to perfect your cutback. If you’re an intermediate or advanced surfer, a surf trip to Costa Rica is what you need to take your surfing to the next level. Read below for some of our favorite intermediate maneuvers in Intermediate Surf Maneuvers 101.

Intermediate Surf Maneuvers

Floaters
intermediate surf Maneuvers floater

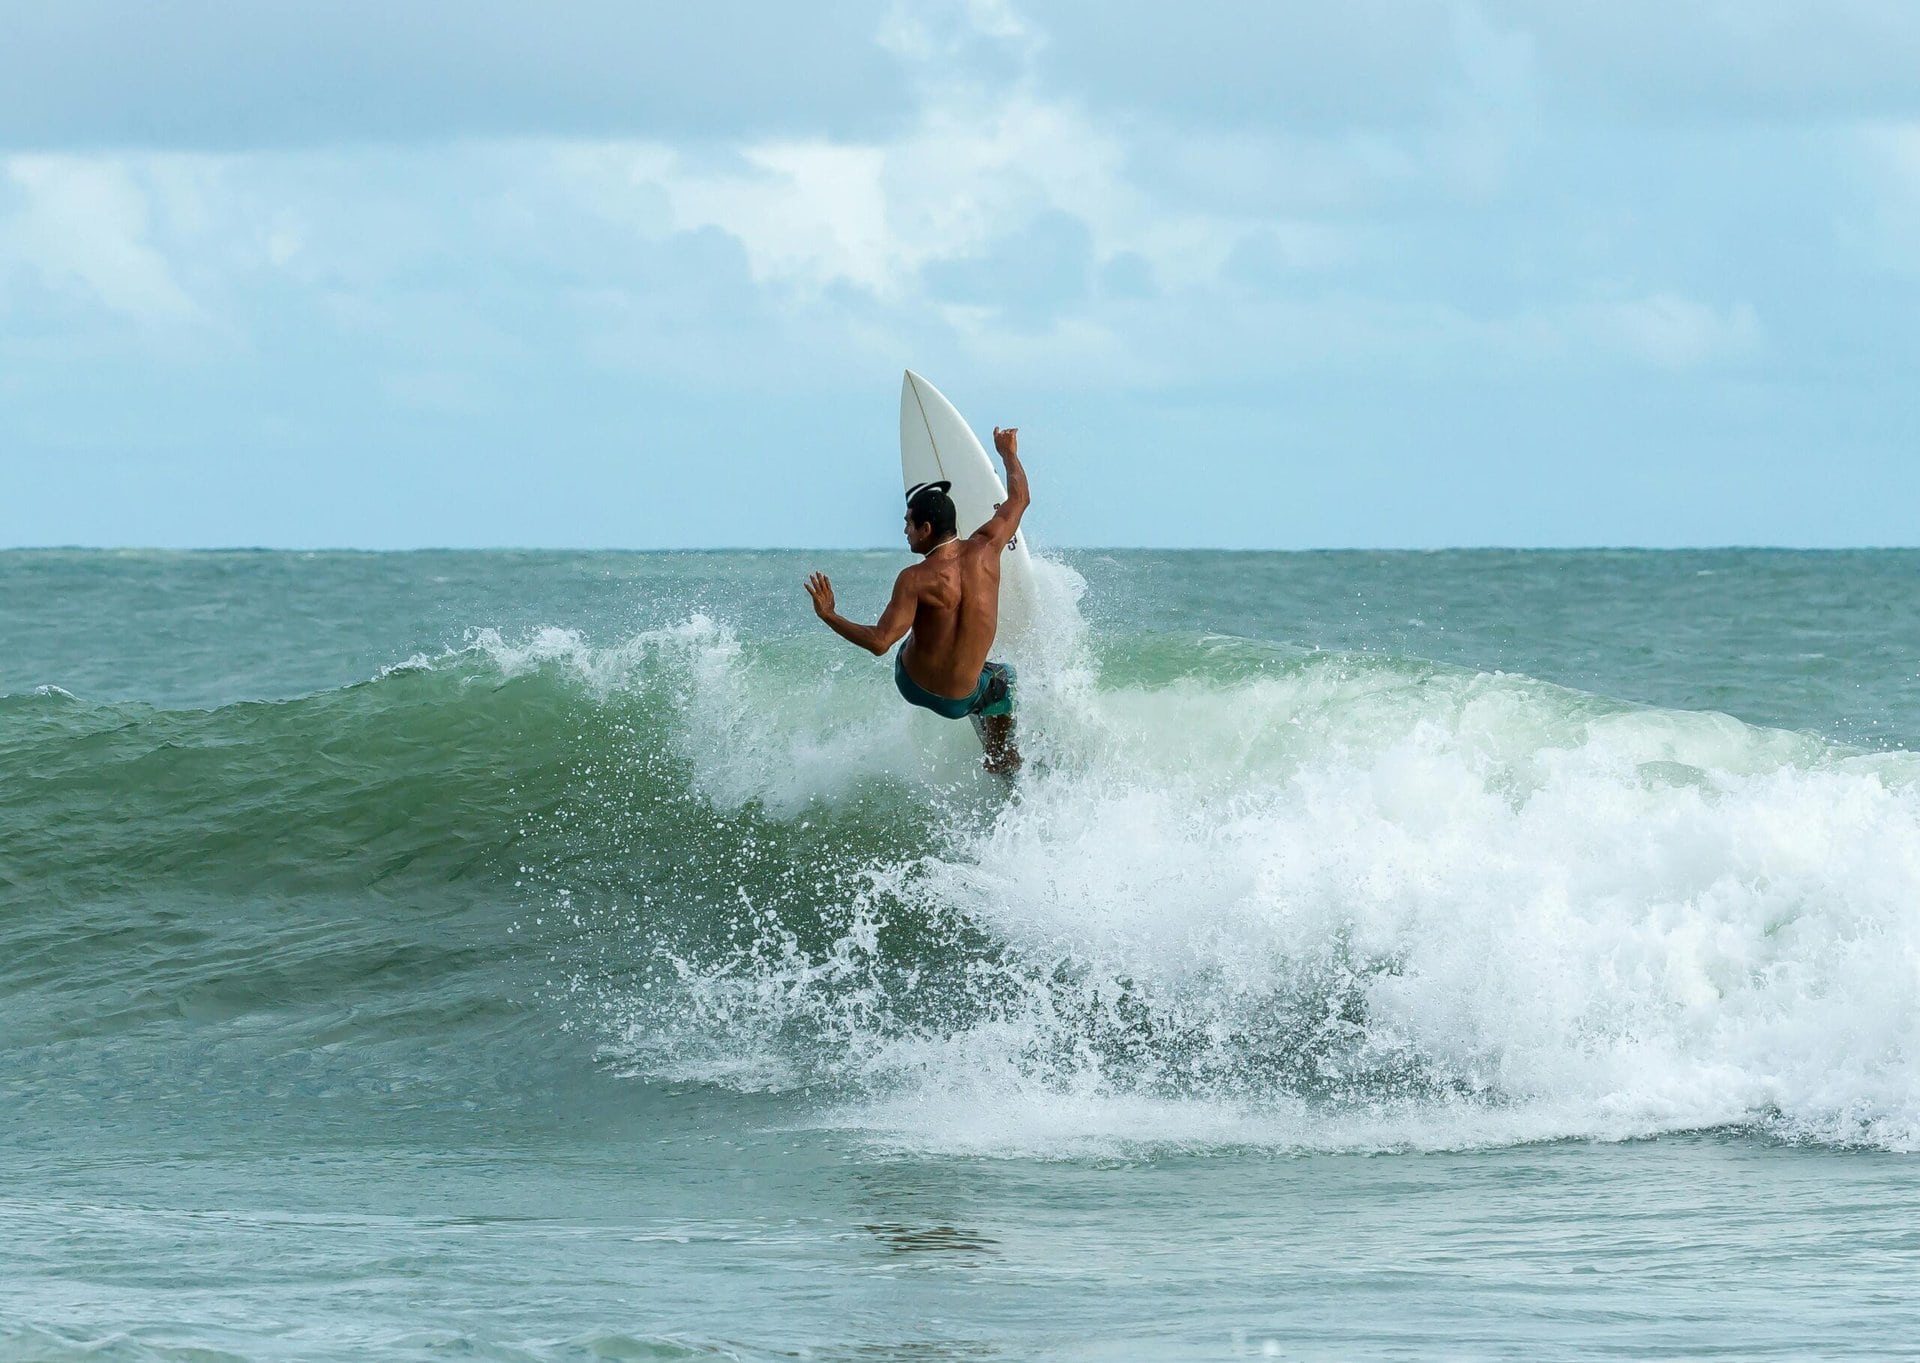
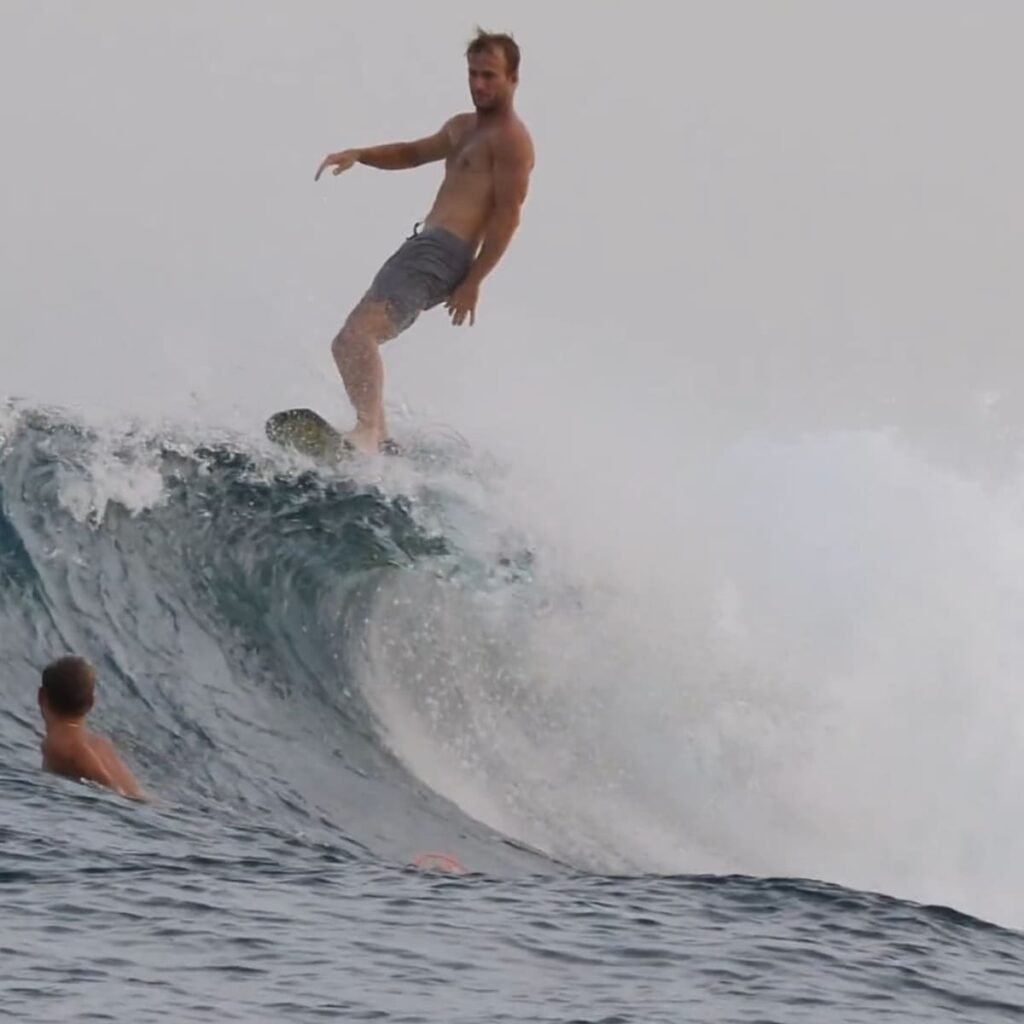
What is a Floater? A floater is an intermediate surf maneuver where the surfer rides over the top of a breaking wave. It’s a stylish move that requires timing, balance, and control.

How to Perform a Floater:

  1. Approach the Section: As you ride down the line, look for a section of the wave about to break.
  2. Bottom Turn: Perform a solid bottom turn to generate speed and angle your board towards the top of the wave.
  3. Ride Over the Lip: As you reach the lip, lift your board’s nose slightly and let the momentum carry you over the breaking wave.
  4. Stay Centered: Keep your weight centered over your board and your knees slightly bent to maintain balance.
  5. Re-enter the Wave: As you come down from the floater, guide your board back down into the wave and continue riding.

Tips for Success:

  • Timing is crucial; aim to reach the lip just as it begins to break.
  • Keep your eyes on the wave ahead to anticipate the next section.
  •  

Cutback

Surfing Cutback

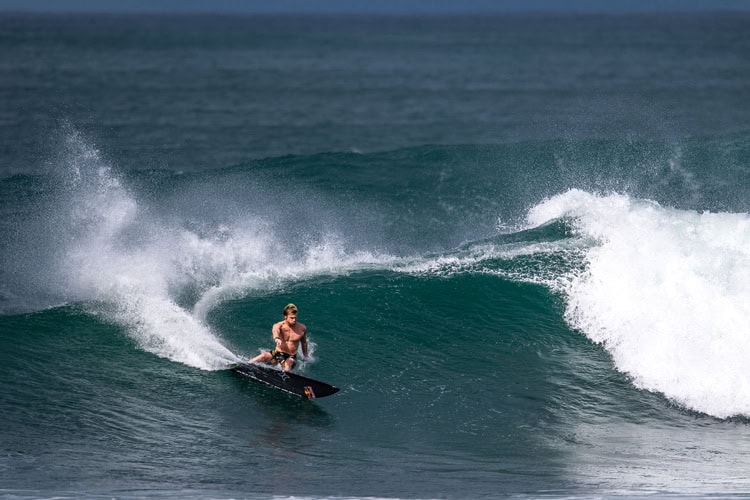
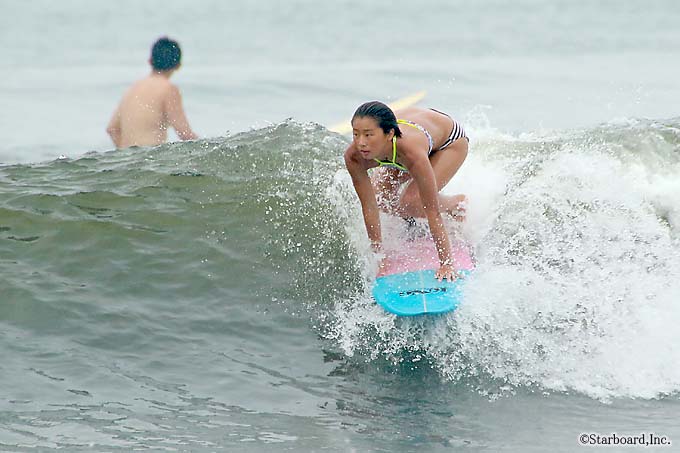
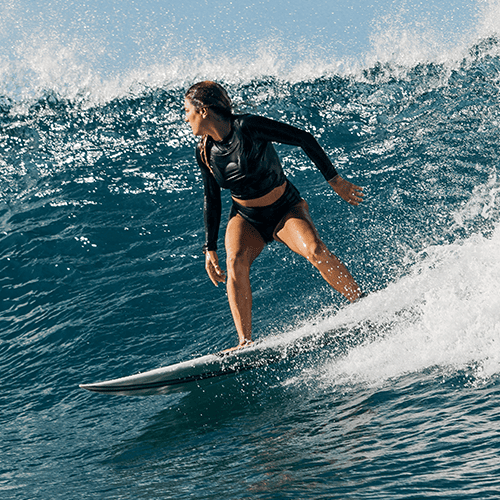
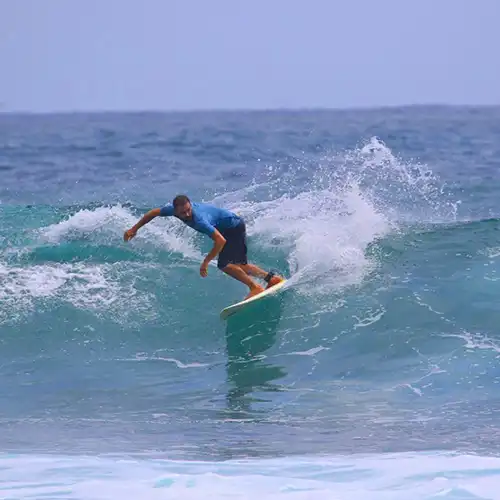
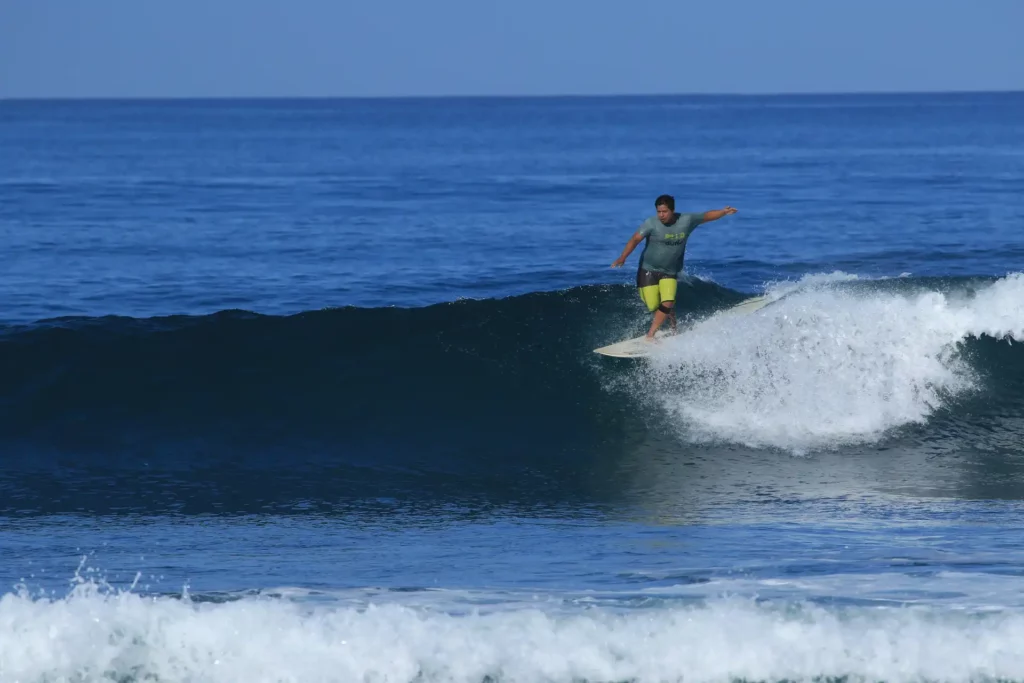
What is a Cutback? A cutback is an intermediate surf maneuver that allows a surfer to turn back toward the pocket of the wave.

How to Perform a Cutback:

  1. Generate Speed: Start by generating speed down the line with powerful pumps and bottom turns.
  2. Initiate the Turn: As you reach the open face of the wave, shift your weight onto your back foot and initiate the turn. Begin the turn by rotating your leading hand in the path of the turn, followed by your head / Gaze. In surfing, your head is essentially the steering wheel; your body will follow where you turn and look. Once your head turns, rotate your shoulders and then hips.  
  3. Carve Back: Lean into the turn, using your shoulders and hips to guide the board through a smooth, arcing motion.
  4. Hit the Foam: Aim to hit the whitewater or the pocket of the wave, which helps to maintain momentum and sets you up for the next section.
  5. Re-engage the Rail: Shift your weight forward slightly and re-engage the rail to continue down the line.

Tips for Success:

  • Initiate your turn with your leading hand.
  • Use your arms to help guide and balance your turn.
  • Focus on smooth, controlled movements rather than forcing the turn.

Snaps
surfing snap

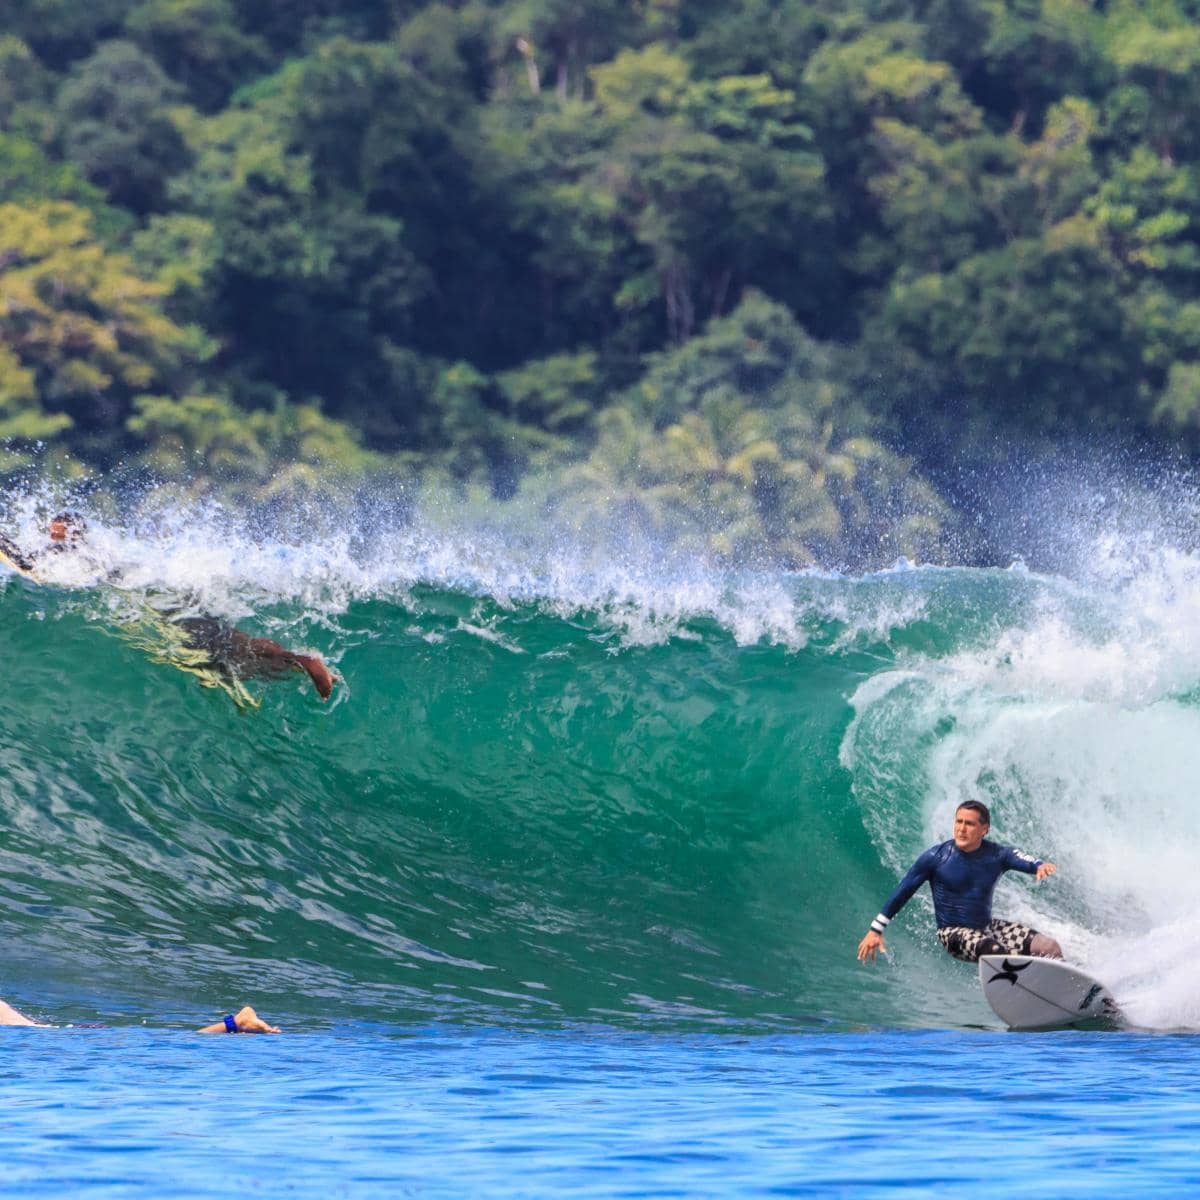
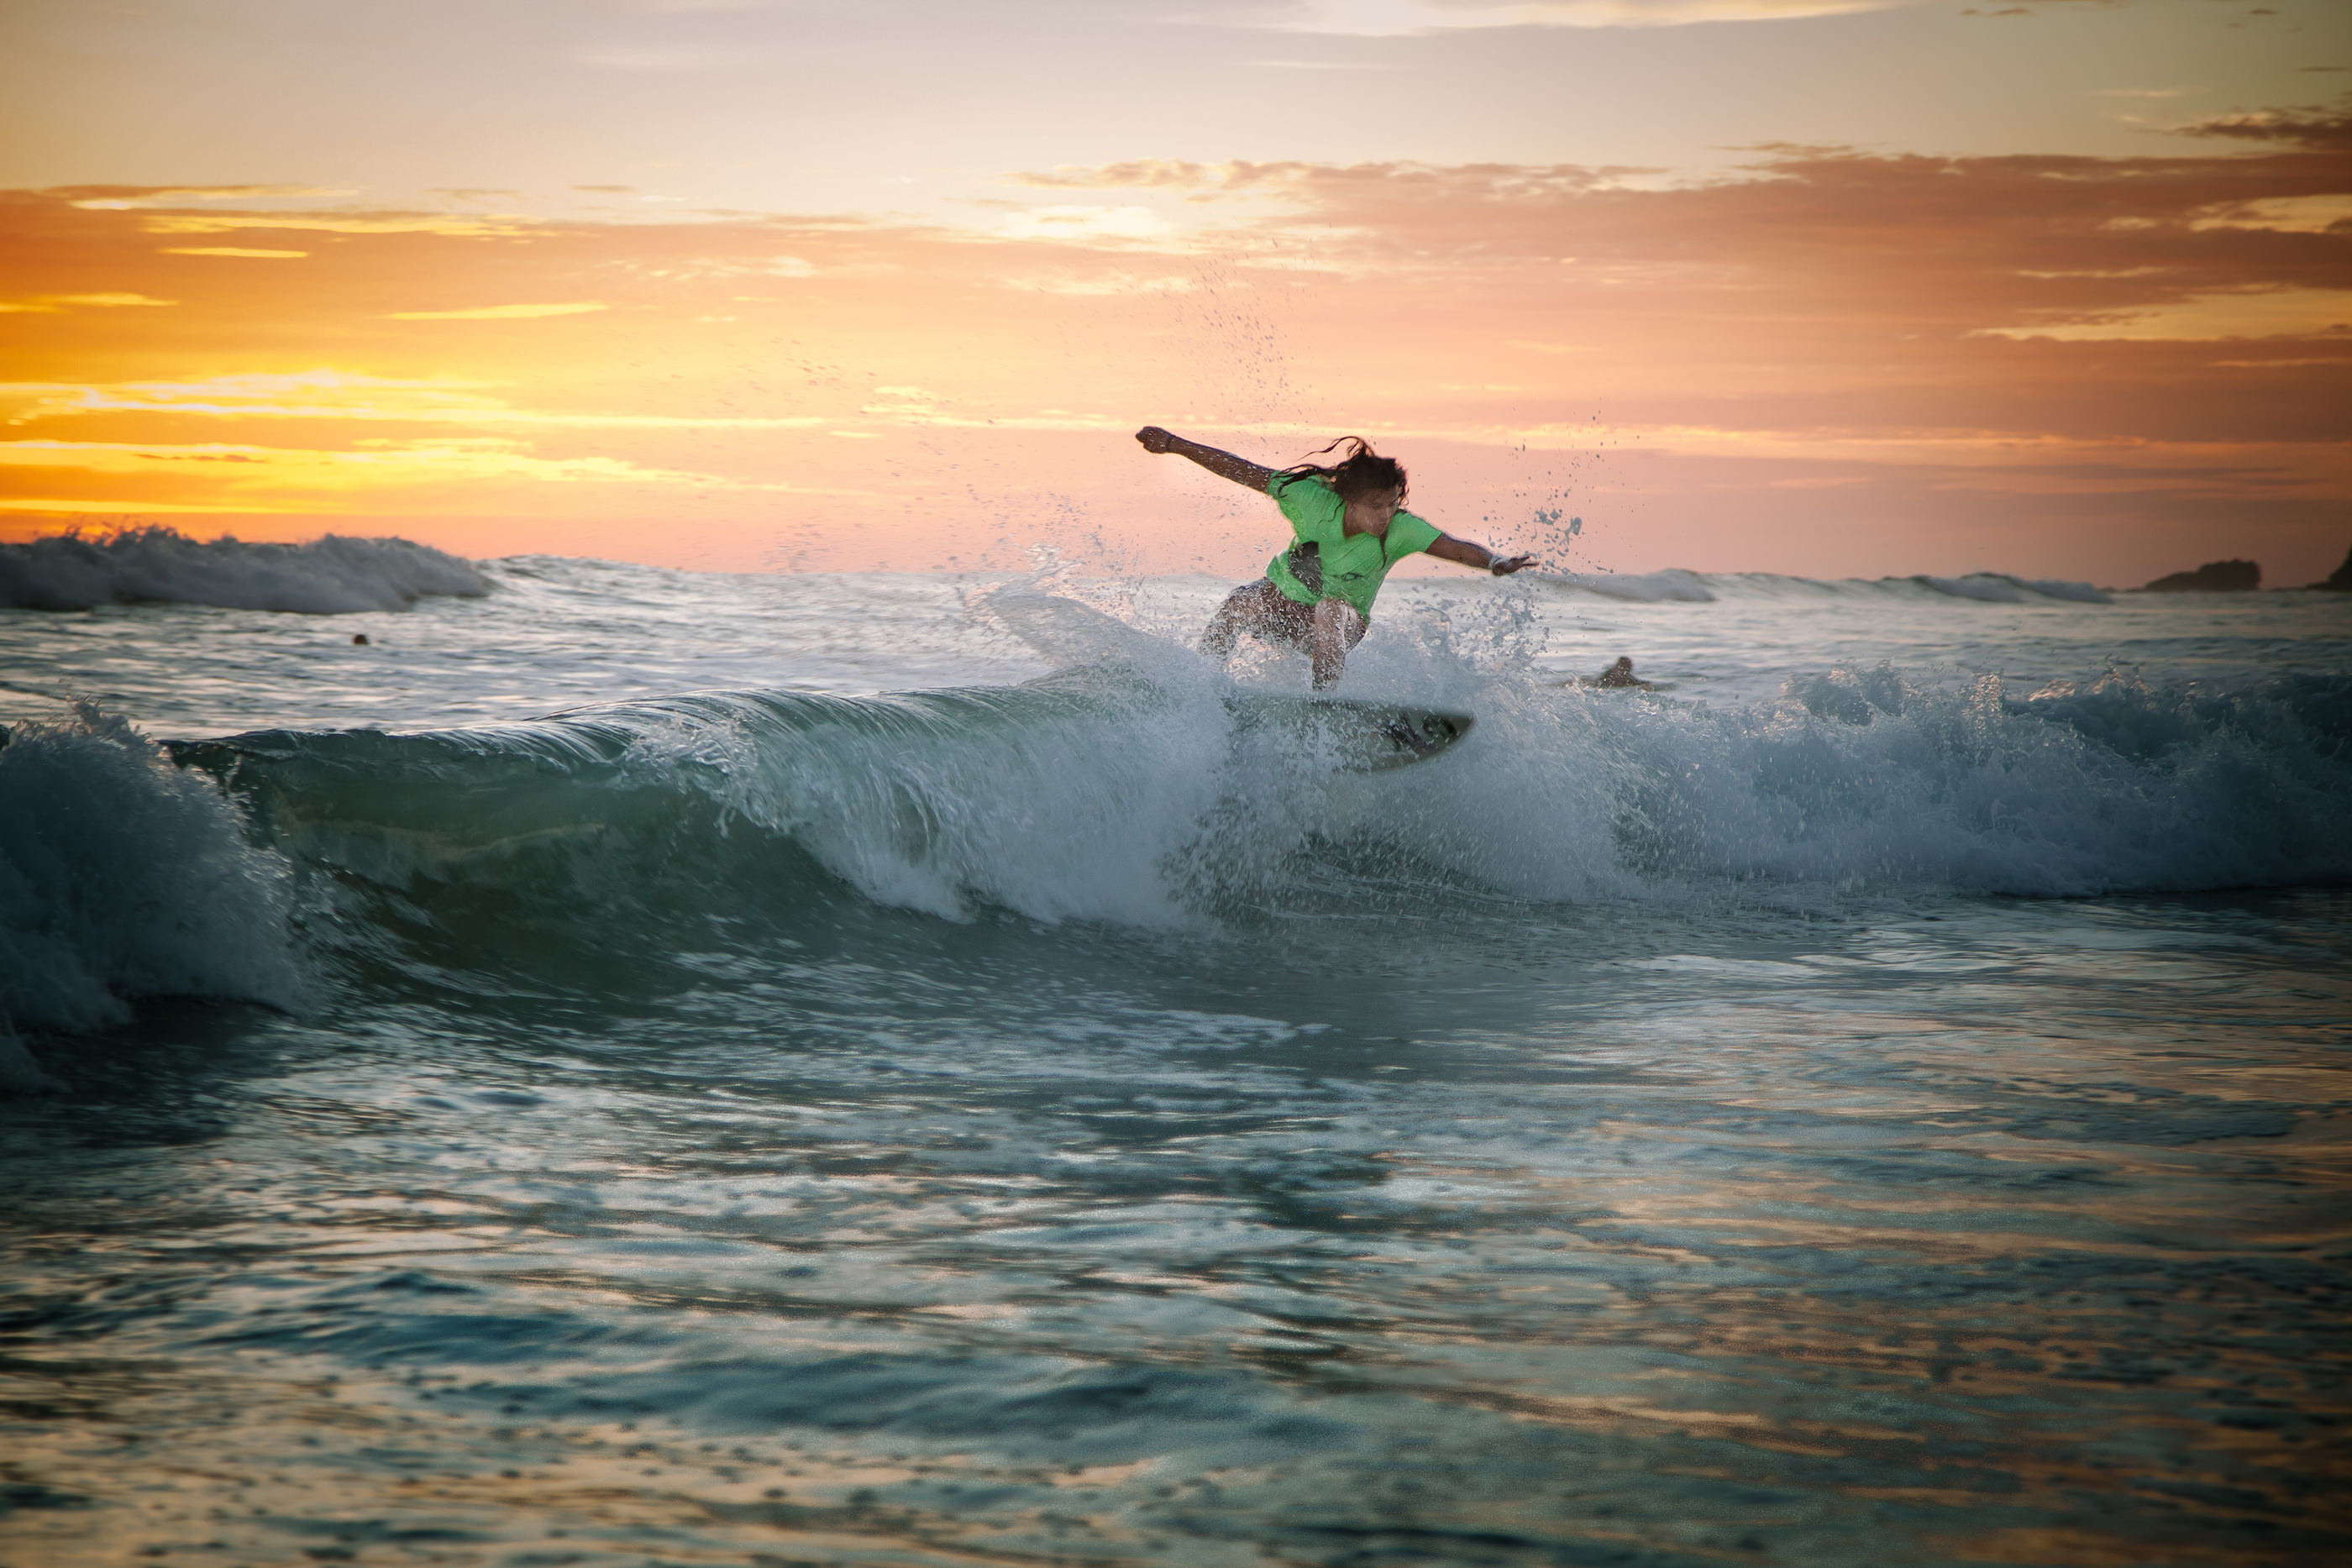
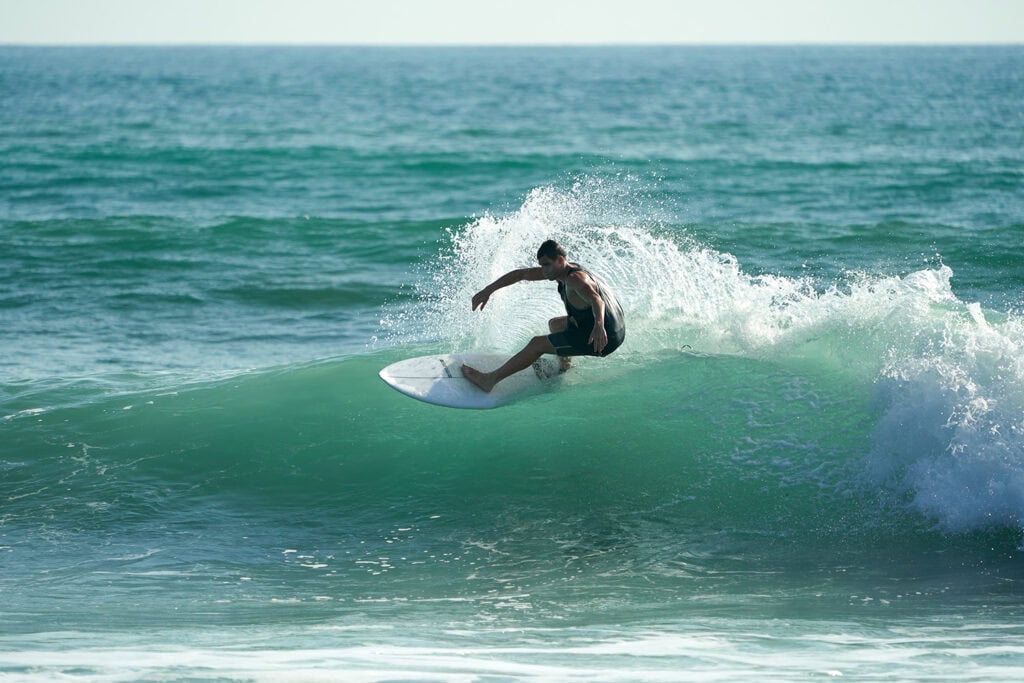
What is a Snap? A snap, or re-entry, is a quick, explosive turn off the top of the wave. It’s a dynamic intermediate surf maneuver that allows surfers to carry speed down the line.

How to Perform a Snap:

  1. Gain Speed: Generate speed down the line to set up for the snap.
  2. Coil Your Body: As you enter your bottom turn, pre-coil your body in anticipation of the approaching lip.
  3. Approach the Lip: Perform a bottom turn to angle your board towards the lip of the wave. As you come out of your bottom turn, immediately spot the section of the lip you aim to hit.
  4. Explosive Turn: As you rise up the wave, initiate your turn so you complete the turn when you reach the top of the wave. Quickly shift your weight onto your back foot and pivot the board sharply back towards the wave.
  5. Kick the Tail: At the peak of your turn, use your back foot to kick the tail of the board out and generate spray.
  6. Recover and Continue: Re-center your weight and guide your board back down the wave to continue your ride.

Tips for Success:

  • Timing and speed are critical; aim to perform the snap at the steepest part of the wave.
  • Keep your movements quick and precise to execute a clean snap.

Mastering advanced surf maneuvers like floaters, cutbacks, snaps, and more will improve your comfort and confidence in the water. Practice makes perfect, so spend time refining each maneuver, and don’t be afraid to push your limits. Nothing is better for your surfing than taking a surf trip and surfing every day. Head to our website to book your next surf trip.

The Safari Surf Guide to Mastering the Surf Pop-Up

Surf pop-up

When you’re learning to surf, the pop-up is the first thing you’ll learn, whether you’re taking lessons at our Costa Rica surf school or elsewhere. A good surf instructor, like those on our team in Costa Rica, Panama, and Ecuador, will walk you through the step-by-step mechanics of a proper surf pop-up on the beach before you paddle out. While it may seem like something you can learn on the fly or develop as you progress, mastering proper pop-up techniques is vital to your ability to improve your surfing. Your pop-up dictates how your ride will go. An improper pop-up typically leads to missed waves or, at minimum, an inefficient ride. To find out how we teach our students to pop up, continue reading below for the Safari Surf Guide to Mastering the Surf Pop-Up. 

Position Yourself to Catch the Wave

surfing nosara

Before you pop up and begin your ride, you have to catch the wave. It’s no secret that surfing is 99% paddling and paddling effectively and positioning yourself correctly will ensure you have the best opportunity to catch and ride the wave. As we have mentioned in previous surf tip blogs, catching a wave at its peak is critical to ensuring a successful ride. The peak of the wave is the highest point of the incoming swell, where the wave first begins breaking. While it’s tempting to try to catch a wave on the less steep area of the shoulder, it’s far more difficult. Catching a wave at its peak will ensure you have the best opportunity to get into the wave early and take the easiest drop possible.

Paddle Hard

family surf vacation panama

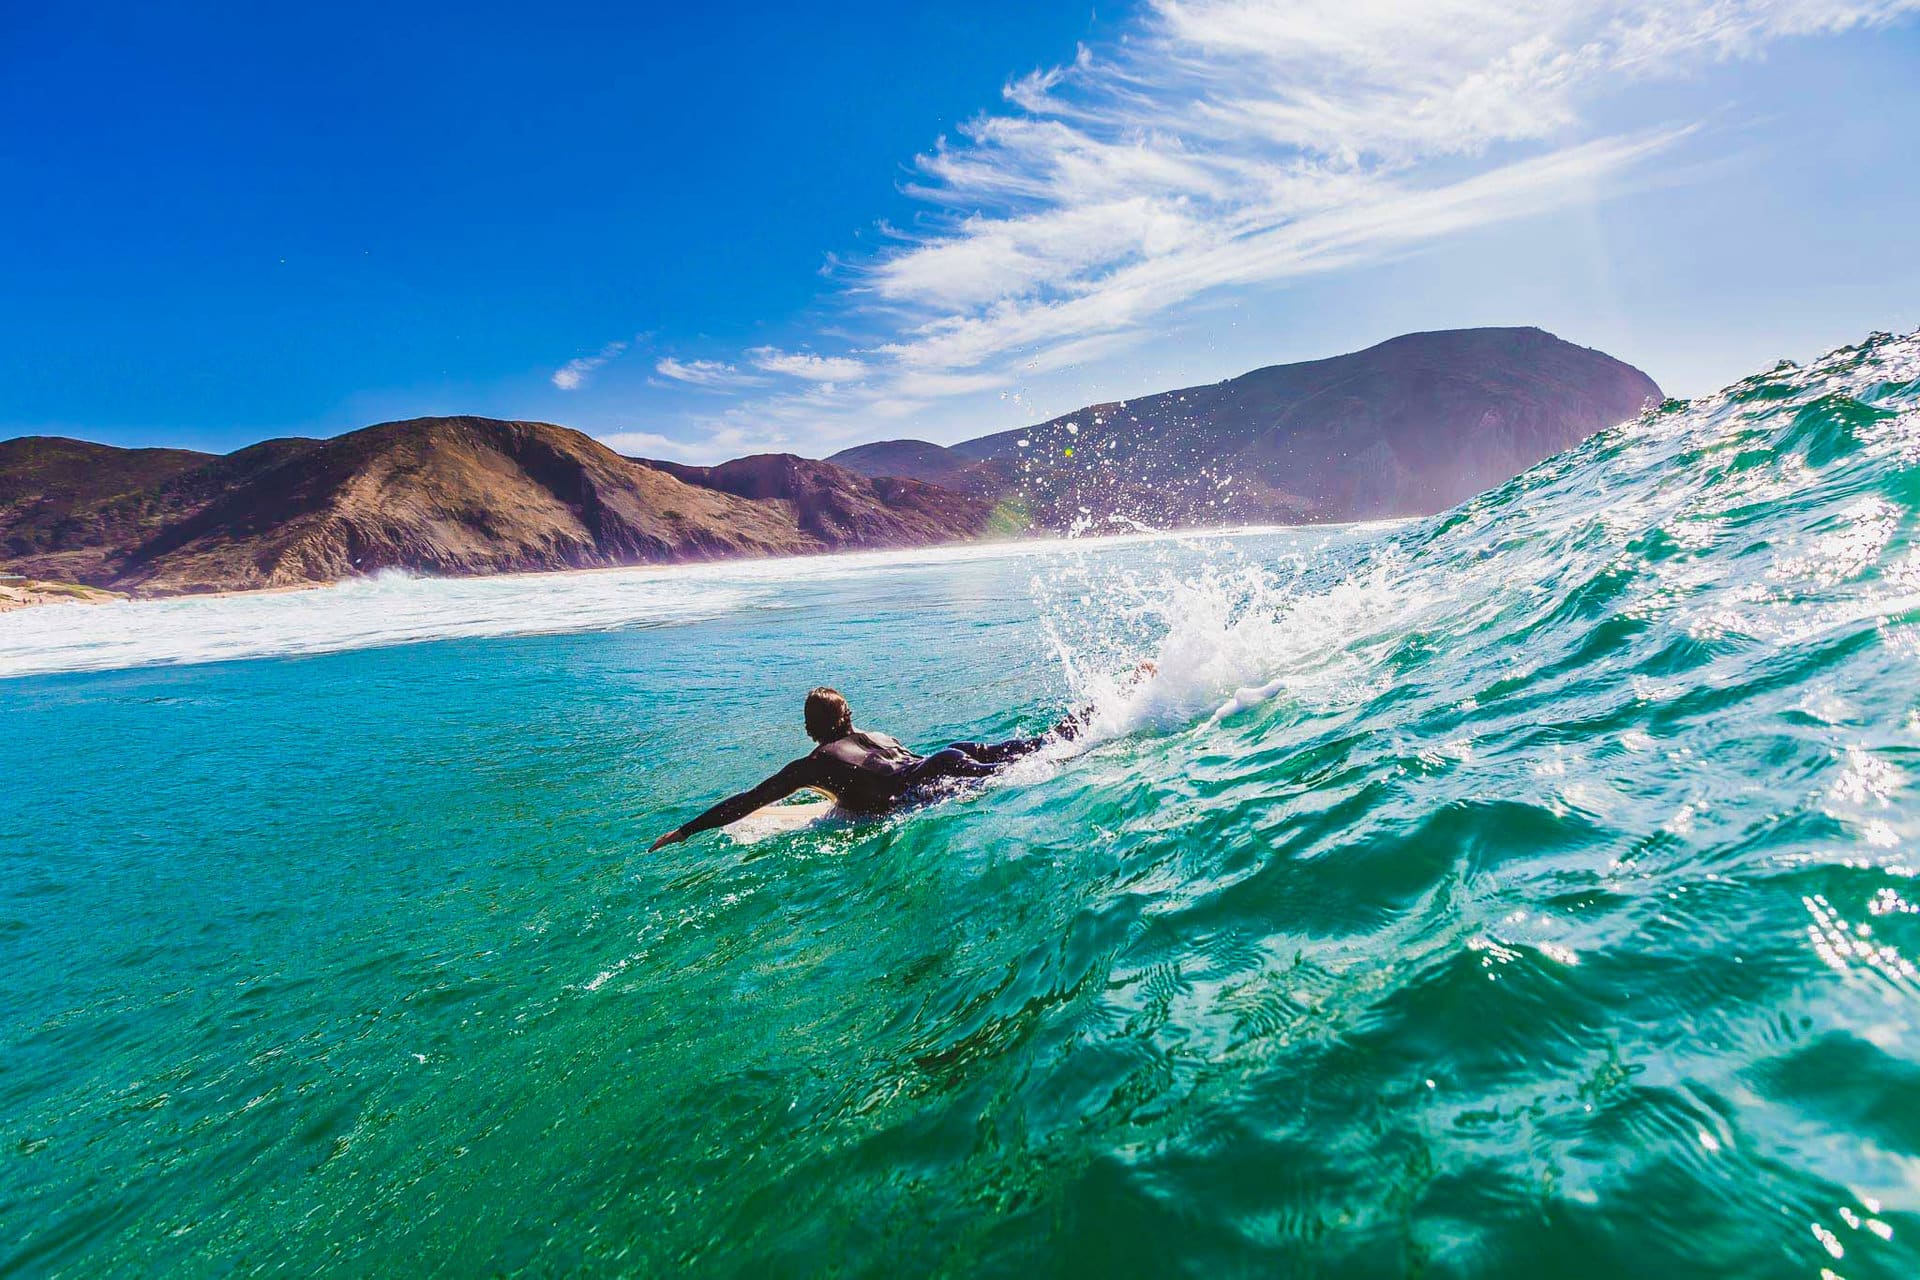
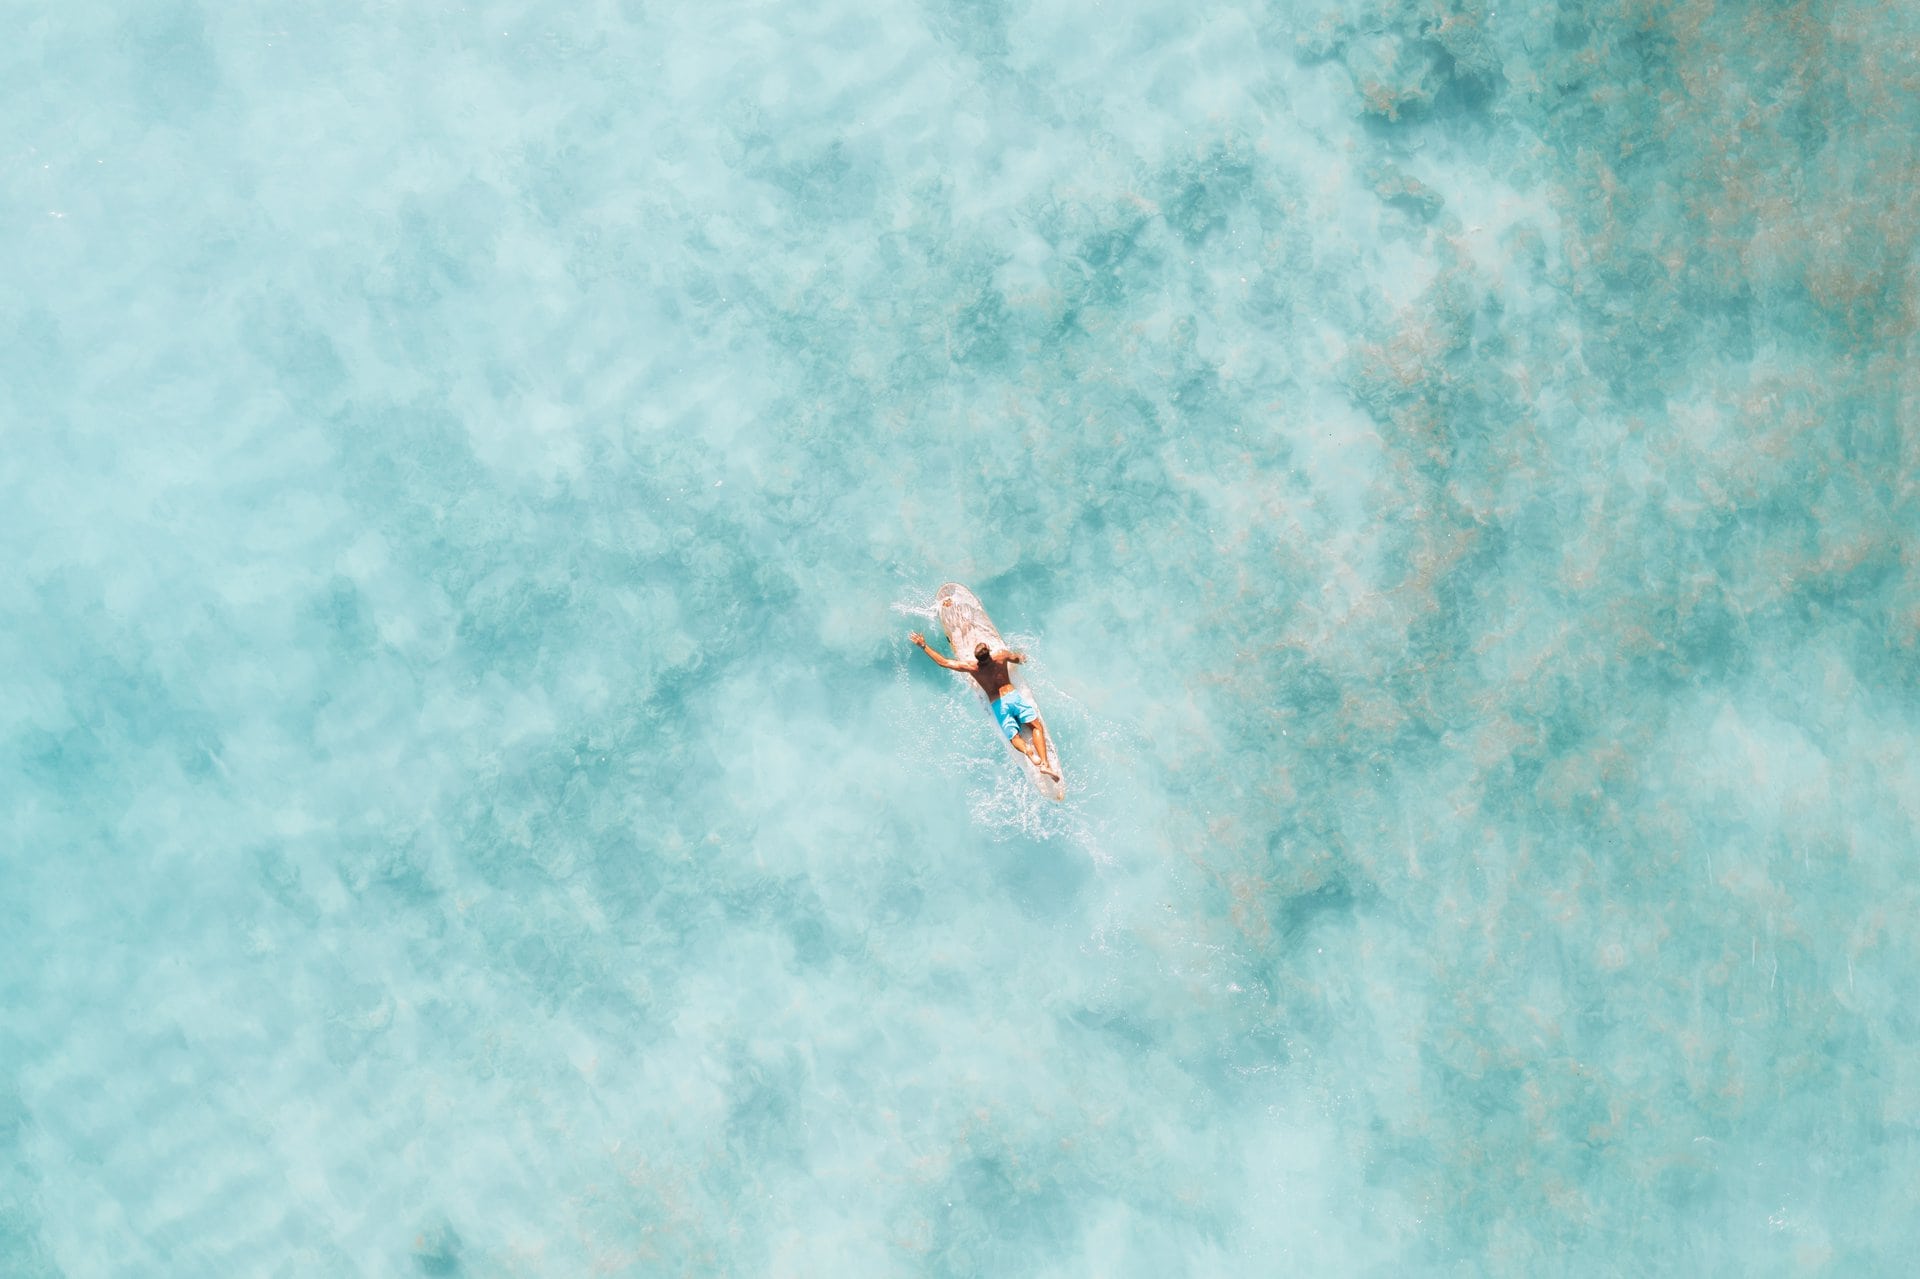
Once you position yourself at the peak of the wave, paddle hard to match the wave’s speed. A lot of surfers struggle to paddle hard. Dig deep with each stroke, and once you feel the wave lift you, paddle a few more strokes to ensure you’re fully in the wave.

Start Your Surf Pop-Up by Raising Your Chest

surf pop up

The first step to a well-executed surf pop-up is to raise your chest like you’re performing the upward dog yoga pose. Place your hands under your chest like you’re going to do a push-up, and then raise your chest off the board. When you raise your chest, your weight will shift toward the back of your board, stalling you high on the wave’s face, allowing you ample time to get to your feet and drop into the wave.

Look Down Line

surfer dropping in

With your chest raised like you’re in the upward dog yoga pose, turn and look down the face of the wave in whichever direction you aim to ride. If you’re taking off on a right, look to the right before initiating the rest of your pop-up. If you’re taking off on a left, look to the left before getting to your feet. In surfing, the direction of your gaze will dictate where your board goes. If you turn your head and look down the line, your shoulders and hips will follow.

Bring your Back Foot to the Tail of Your Board

surf lessons

With your chest raised off the board, bring your back foot to the tail of the board, bending your knee over the board’s rail.

Push through Your Back Foot & Bring Your Front Foot Forward

surfing pop up

Once your back foot is placed on the tail of your surfboard, push through your foot and raise your whole body to a pushup position with your back foot on the tail and your hands firmly on the deck of the board. Next, bring your front foot forward, plant it under your chest, and rise into a crouched, athletic position. Before rising fully to your stance, look down at your feet and make sure your stance is slightly wider than shoulder width.

Stay tuned to the Safari Surf blog for more surf tips. If you’re a new surfer or an intermediate who wants to brush up on your technique, visit our Costa Rica surf schools and learn from the best instructors in the business.

The Safari Surf Guide to the Best Intermediate Waves on the Planet

Slow breaking wave

Not all waves are created equal. While there’s no denying that there are good and bad waves, it’s not always binary. What may look like a fun wave to one surfer could be impossible to surf to another. Every surfer is different, and depending on their skill level, not all surfers are looking for the same thing. While the waves that make magazine spreads and dominate your Instagram feed may look visually stunning, they’re usually highly difficult to surf. Sure, there is a caliber of surfer looking specifically for steep, hollow waves that hold serious size, but most surfers in the water just want an open face to do turns. If you’re an intermediate surfer, don’t spend your surf trips chasing waves that are too difficult or dangerous for you to ride. Instead, look for waves that will help you progress. Continue reading below for The Safari Surf Guide to the Best Intermediate Waves on the Planet.

Intermediate Waves in the US

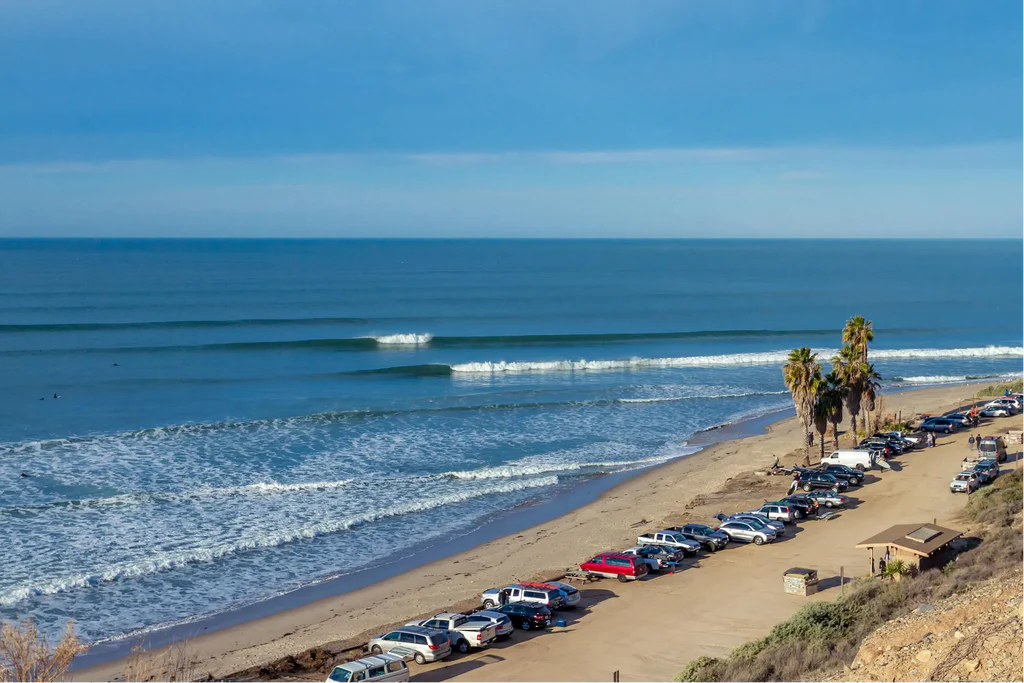
Upper Trestles- San Clemente, California 

Upper Trestles

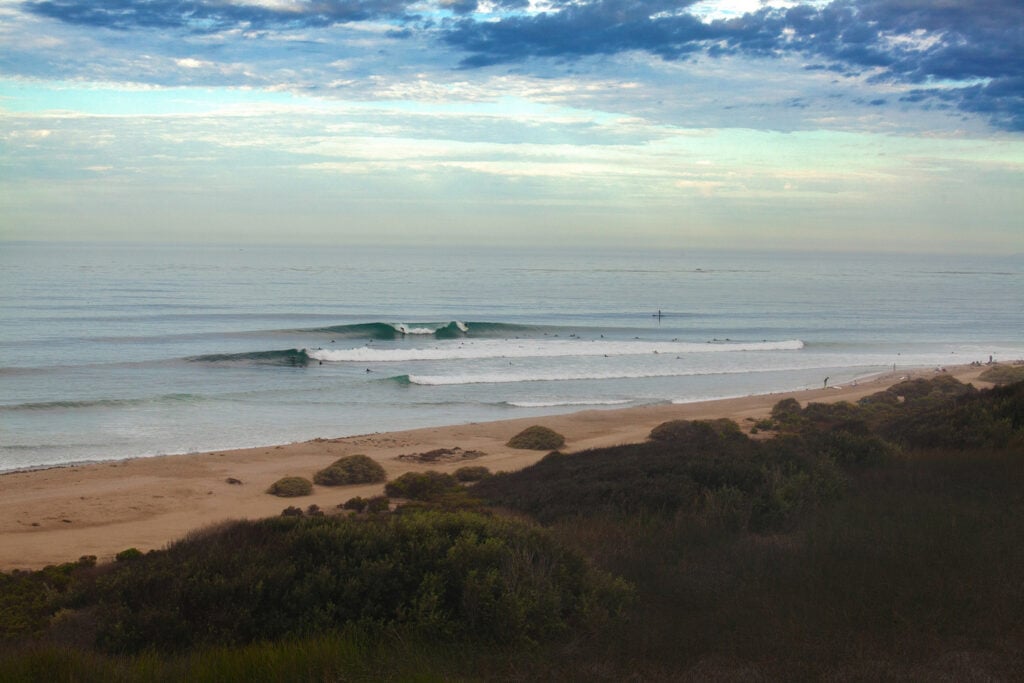
Lower Trestles is the pinnacle of high-performance surfing in the US. The wave offers an open wall to carve, launch airs, and hack. It’s not unusual to spot pros in the lineup, going toe-to-toe with the best young up-and-coming surfers. Uppers, just north of the famed Lowers, offers a similarly long-walled wave without the competitive lineup. Compared to Lowers, Uppers is a mellow, slow-breaking right. You’ll find a wide variety of skill levels in the lineup on all different types of boards. 

Intermediate Waves in Latin America 

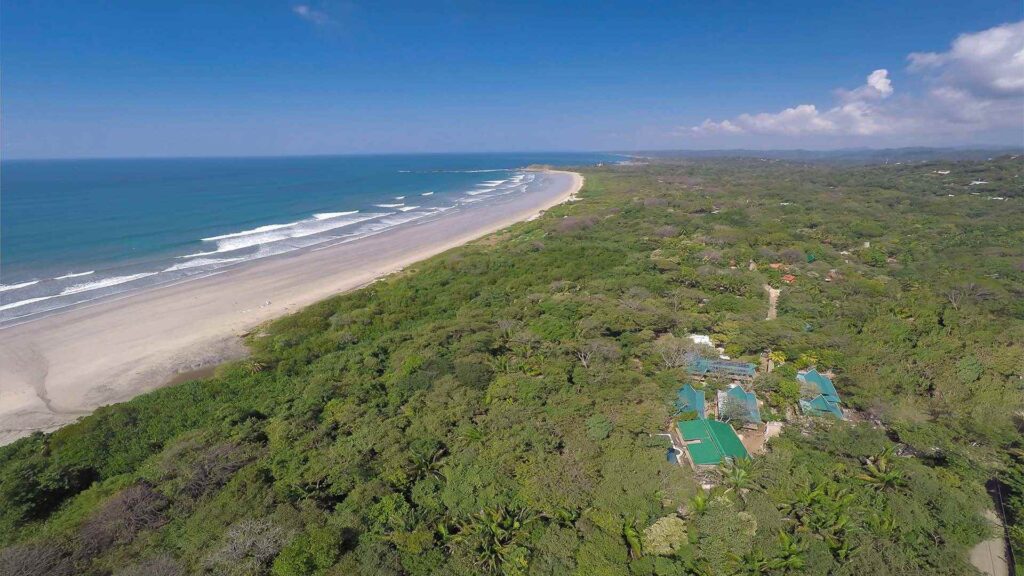
Playa Guiones- Nosara, Costa Rica 

Intermediate waves in Costa Rica

We couldn’t make a list of the best waves on the planet without including our home break—Playa Guiones. Playa Guiones is a 4-mile-long beach with dozens of reliable sand bars that help disperse the crowd. The wave at Guiones breaks slowly and has a gently sloped face that makes it user-friendly at any size. 

Playa Venao- Pedasi, Panama

Beginner Waves Playa Venao

Our other home break in Panama offers a similar ride to that in Guiones. Playa Venao is a crescent-shaped cove that faces completely south. While the beach does pick up a ton of swell, the sides of the cove always produce smaller, weaker waves that are ideal for learning. The middle of the cove has a fun right and left peak that beaks quickly and is favored by advanced surfers. 

Chicama- Peru 

Chicama Peru

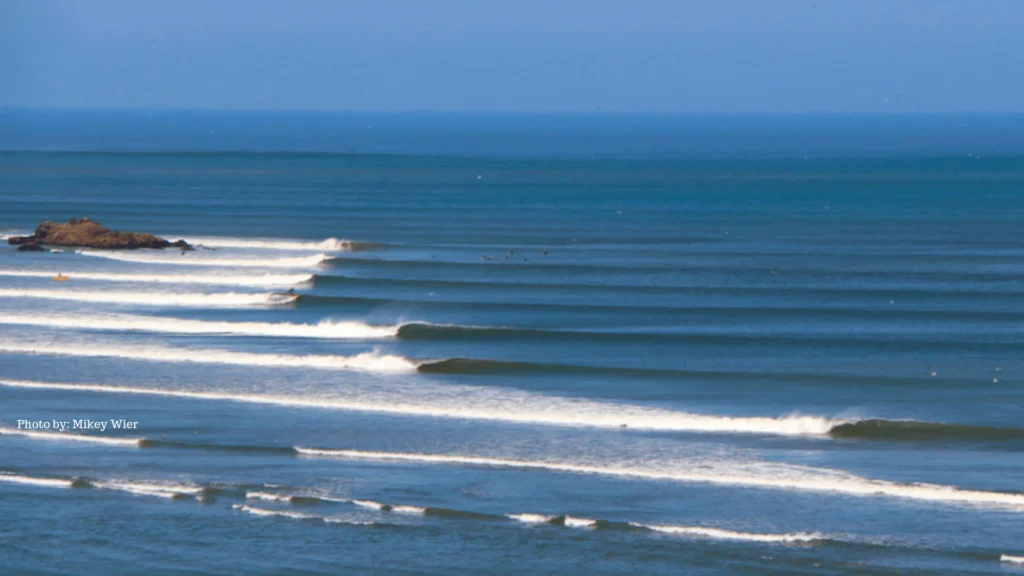
Northern Peru is home to some of the best waves on the planet. There are world-class barrels, long reeling points, peaky beach breaks, and much more. Chicama is home to the longest left in the Western Hemisphere. It takes a massive northwest swell to begin breaking, so most people travel there from other waves nearby rather than take a trip to Chicama. The wave peels for multiple kilometers and is so long that it’s physically impossible to paddle back against the current. Instead, surfers are ferried back to the peak by boat. 

Intermediate Waves in Asia 

Lazy Lefts & Right- Weligama, Sri Lanka 

Lazy Lefts Sri Lanka

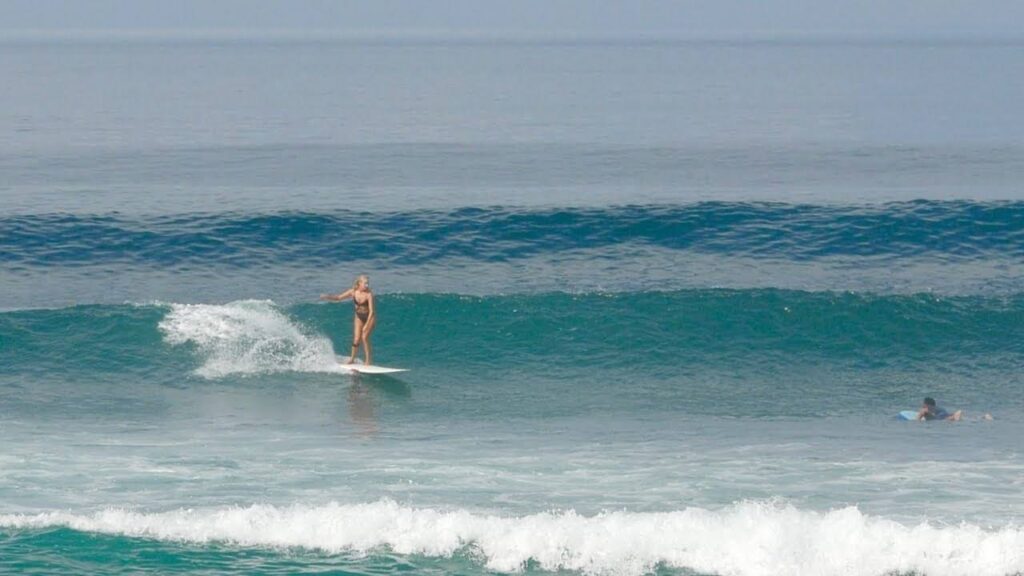
Sri Lanka is a great destination for intermediate waves. While the Indian Ocean island nation receives ample swell, many of its most celebrated waves are longer points, not top-to-bottom hollow waves. Two great examples can be found in the southeast corner of the tear-drop-shaped island, right next to each other— Lazy Lefts and Lazy Rights. Lazy Lefts and Rights are complimentary points separated by a wide bay that breaks towards each other. The right is a slow-breaking, long ride, and the left is a bit faster and steeper. The combination is ideal for progression and allows surfers to build confidence on the right and work their way towards the left. 

Old Man’s – Batu-Bolong- Canggu, Bali 

Old Mans Canguu

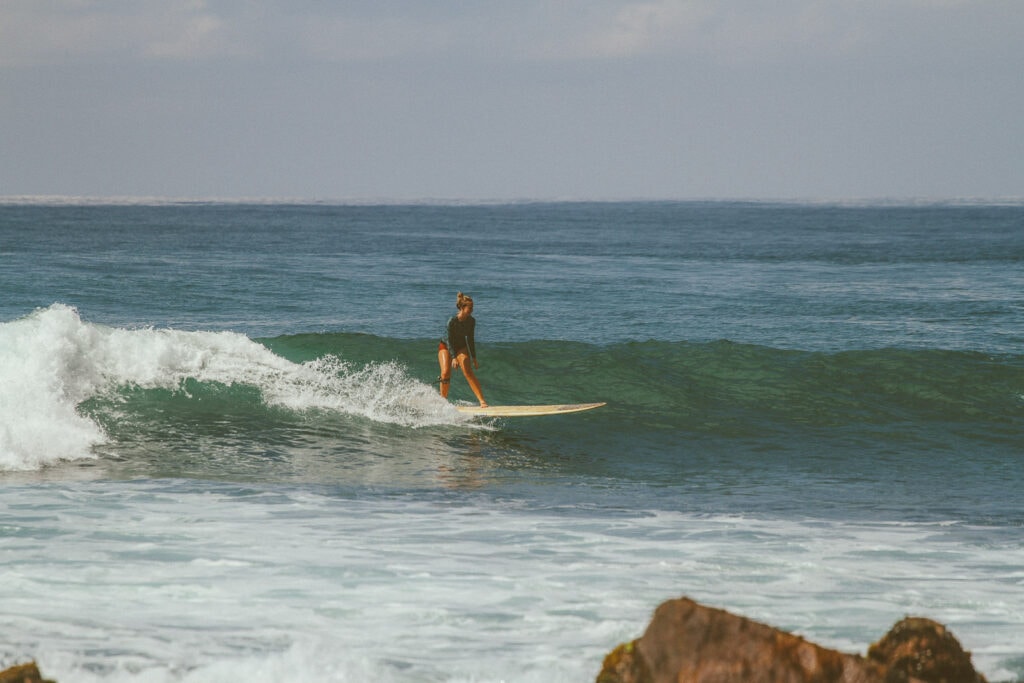
Bali is one of the world’s most popular surf destinations for a reason—it’s full of world-class waves. While the iconic lefts off the Bukit Peninsula may be well suited for advanced surfers, there are still plenty of intermediate waves on the island. Old Man’s is a cruisy right-hander that bends around a lava reef and forms a picture-perfect wave for longboarders and new surfers. 

Intermediate Waves in Europe 

Baleal Island- Peniche, Portugal 

Portugal Waves

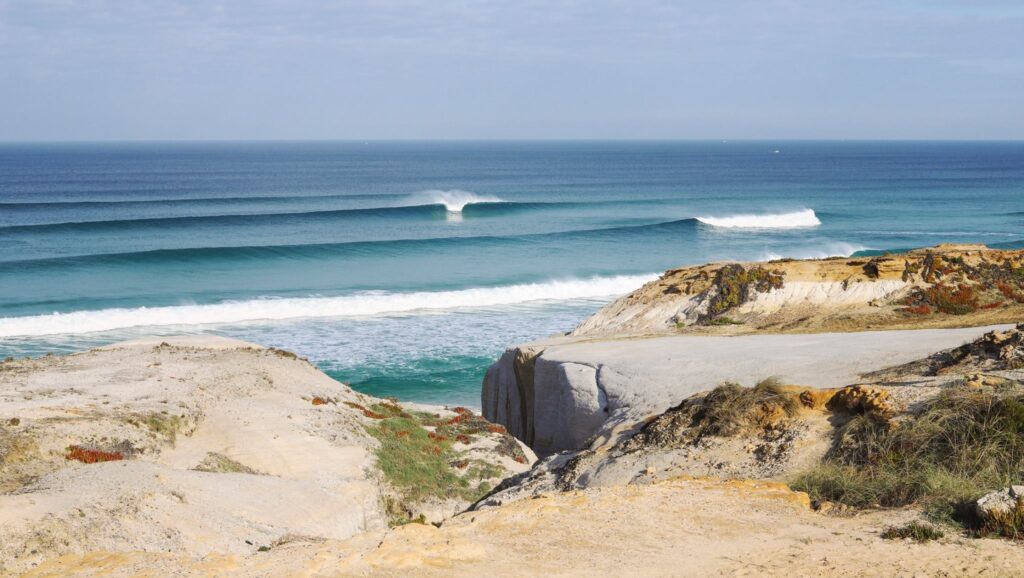
Portugal is Europe’s wave mecca, and Peniche is home to one of the country’s many crown jewels, Super Tubos. Super Tubos is the European Pipeline. It’s a beach break that packs a serious punch and produces some of the best tubes in the Old World. Just down the road from this barrel haven is a mellow beach and reef break that peel perfectly and offer ample room for turns. 

The best way to progress your surfing is to travel. Join us in Costa Rica, Panama, or Ecuador to surf our favorite intermediate waves. Head to our website to book your trip today!

How to Take Your Surfing to the Next Level with These Intermediate Surf Tips

Panama Surfing

At Safari Surf School, we teach hundreds of new surfers every year. For many guests, surfing becomes, not just a lifelong hobby, but a passion. We have guests return year after year to further improve their surfing. Playa Guiones isn’t just the ultimate beginner wave, it’s a great wave for progression, where intermediate surfers can learn to generate speed, carve, and turn. If you’ve learned to pop up, bottom turn, and ride cleanly down the wave, it’s time to take your surfing to the next level. Our team at Safari Surf School has put together a list of surf tips to help you achieve your goals in the water. Whether you’re gearing up for a surf trip, prepping for winter swell season at home, or just looking to improve your overall surfing, continue reading below for How to Take Your Surfing to the Next Level with These Intermediate Surf Tips. 

Intermediate Surf Tip #1 Surf the Right Board for Your Skill Level

Happy smiling faces of the Safari Surf crew

One of the worst things a surfer can do for their progression is to ride the wrong board. Our number one surf tip is for surfers to spend ample time learning before changing boards. While it may be tempting to jump on the latest shortboard model once you have mastered the basics. You still have a long way to go. Shortboards lack the float and stability that new surfers need. We teach our new surfers on beginner-friendly soft top surfboards. Eventually, those students progress to traditional longboards that allow them to trim, turn, and carve. If students have a desire to downsize further, they then progress to a mid-length, which has plenty of stability and float with increased maneuverability. Once a new surfer has learned to generate speed, carve, and turn on a longer board, they’re ready to move to a high-volume shortboard.

Look Down the Line

Team Inara

Intermediate surfers who struggle to ride on the upper portion of the wave’s face can do so by looking down the line. This surf tip will help surfers who struggle to make fast-breaking waves. When you’re surfing, your head and shoulders essentially act as a steering wheel. Where you look while riding dictates where you go. So, as you get to your feet during your pop-up, turn your head and shoulders and look down the line. Where your head and shoulders face, your hips will follow, and you’ll be riding cleanly down the line.

Surf With Your Whole Body

surfer pumping down the line

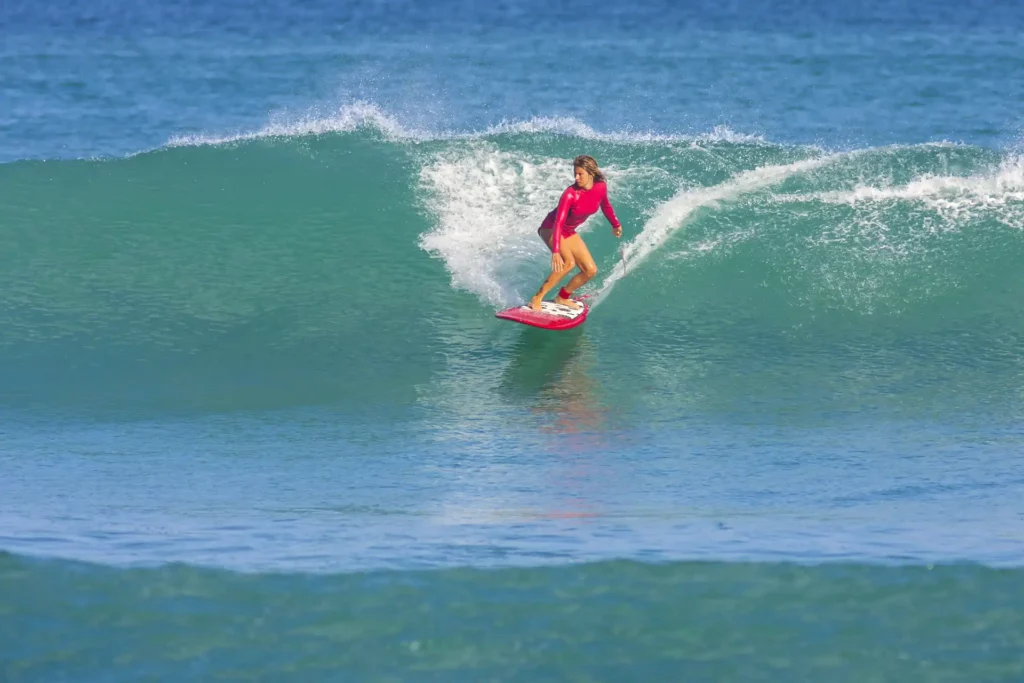
As you progress as a surfer and begin to ride shorter boards, you’ll need to learn to generate speed. Surfers generate speed by climbing up and down the wave’s face, finding pockets of speed in the wave’s steeper sections. The most effective way to pump for speed is to utilize your entire body. As you drop into a wave and come off your bottom turn, throw your weight towards the wave’s face by extending your body and arms up towards the wave. This shift in positioning and weight will pull you up the wave face. As you rise up the face, compress by bending your knees to lower your center of gravity and descend the wave face with ample speed. 

Lead Your Turns

surfing turning

Just like when generating speed, turning requires our whole bodies. Doing a proper cutback requires several steps. Step 1: compress and shift your weight towards your back foot. Step 2: Start your turn by leading the turn with your hands. Move your leading arm in the direction you want to turn by rotation at the hips and shoulders. Step 3: Follow your lead arm with your gaze, turning your head as you rotate. Step 3: Engage your outside rail as your board rotates through the turn. Step 4: rebound off the white water and continue surfing in the packet.

Surf on the Top Two-Thirds of the Wave  

surfing in Ecuador

The top two-thirds of the wave contains 90% of the wave’s speed and power. As an intermediate surfer, you want to increase your time riding on the top two-thirds of the wave. When you surf on the lowest third of the wave, you can’t generate speed or climb the wave face, and the wave will often outrun you. Surfing on the top two-thirds of the wave allows you to use the wave’s power and steepness to generate speed and set up maneuvers.

Whether you’re new to surfing or an intermediate surfer who wants to continue improving, our surf coaches in Costa Rica, Panama, and Ecuador have what it takes to help you accomplish your surfing goals. Nothing is better for your surfing than an immersive surf trip to a world-class wave. Head to our website to book your trip today!

Surf Etiquette 101: Decoding the Unwritten Rules of the Lineup

surfer paddling
women's surf and yoga retreat in Costa Rica

Learning to surf can feel intimidating. Navigating the politics of a surf lineup and understanding its unwritten rules isn’t something that comes naturally to most surfers. Surf etiquette is something that is taught and learned. Surf Etiquette is something that every surfer should take the time to understand, and something every surf school should implement into its teachings. While the unwritten rules of the lineup are often overlooked in surf lessons, we at Safari Surf believe they are vital to surf progression and our student’s safety in the water. If you’re new to surfing, take the time to familiarize yourself with the unwritten rules of the lineup by continuing to read below.

Surf Etiquette Rule #1: Understand Priority

Safari Surf School guests having a great experience

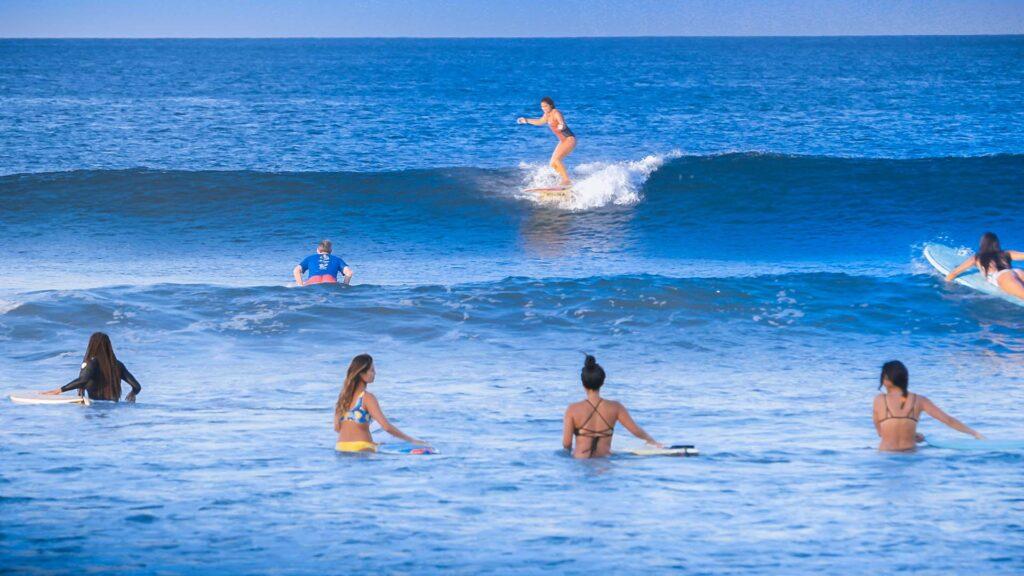
Understanding priority in surf lineups is fundamental to surfing in crowded lineups. Without a priority system, every wave would be flooded with surfers all vying for their chance at a clean ride. Thanks to the system in place, it’s universal that one surfer rides each wave. When vying for position while paddling for a wave, the surfer closest to the peak of the wave has priority. Those outside of the peak, or down the line must yield to the surfer at the peak. If the wave is an a-frame and has both a right and a left, surfers closest to the peak may split the peak.

Always Be Aware of Your Equipment

surf etiquette lesson

While the ocean may feel dangerous at times, the most dangerous thing in any given surf lineup is the other surfers and their surfboards. Proper surf etiquette dictates that surfers must always be mindful of their boards. Being mindful of your board means not ditching your board in a crowded lineup when an incoming set approaches or kicking out of a wave and launching your board in the air. Do your best to stay in control when duck diving, turtle rolling, and kicking out of waves.

Don’t Snake/ Back Paddle

surfer paddling

Having the inside track to the peak of the wave guarantees you priority, but snaking/backpaddling someone to get there is a serious violation of surf etiquette. If you have to loop around another surfer to get to the peak while paddling for the same wave, the wave belongs to the other surfer. Snaking is a surefire way to get on an entire lineup’s nerves and can even get you sent to the beach with a few stern words.

Respect locals

Safari Surf Schools instructors are all certified surf coaches and lifeguard certified

If you’re traveling to surf, understand that you’re a visitor. Locals will be more than happy to share waves if you show them respect. Respect the locals by not paddling straight out to the peak, waiting for your turn patiently, and giving off positive energy with smiles, hellos, and good mornings. As a visiting surfer in a new lineup, it’s always a good idea to watch a few sets before paddling for a wave to get a lay of the land.

Know When to Paddle Out (and when not to)

surfing getting barrelled

As a new surfer, it’s critical to understand your place in the lineup and your own limitations. Every surfer, even those with years of experience, has limits and knows when to stay on the beach. If the waves are out of your comfort zone, there’s no shame in not paddling out. Paddling out in conditions that far exceed your skill level will not only endanger yourself but those around you as well.

At our Costa Rica Surf School, surf etiquette is an integral part of our surf lesson program. We are in the business of creating lifelong, passionate surfers, not vacation photo ops. If you’re ready to learn to surf, head to our website to book your stay. Stay tuned to the Safari Surf School blog for more surf tips, travel news, and all things Costa Rica.

Surf Faster With These Tips

Playa Guiones Rip

So you’ve mastered the basics: you can paddle and catch waves with ease, stand up and drop in and bottom turn. Now what? The next step is learning to create and maintain speed! Speed is one of the most important elements in surfing. Without it, you won’t be able to perform even the most basic moves and turns. It’s the same with skiing, snowboarding, or pretty much any board type of sport; speed is the key to maneuverability.
With that said, here are some helpful tips to surf faster:
Checking and Understanding the Waves
First things first! Before you hop in the water, you have to check the waves. Watching the waves and understanding the type of wave / break it is will certainly help you understand how to ride the actual wave. I almost always sit and watch waves for about 10 minutes, especially at new breaks I’ve never surfed before. By watching the waves and how they are breaking you can see where the “sections” that are faster come along while the wave is breaking, where it may close out, where it may soften or slow down, etc. Of course there is no substitute for actually riding the wave. At least seeing how it is breaking before you jump on them will help – especially with watching a few waves other surfers catch and seeing how they ride the wave to completion.
Bottom Turn – Stay High!
Your initial bottom turn is the key to your entire wave. By timing it right, staying low with a low center of gravity, with legs bent and coiled like a spring, you should release that “coil” spring in your legs to project yourself down the line. This will automatically thrust yourself down the line and high up on the face of the wave. That initial burst of speed is the catalyst for the rest of your wave. As they say in surfing, “Your bottom turn is EVERYTHING.” Once you have propelled yourself forward from that initial bottom turn and you find yourself on the upper third of the wave…this is where you will always reach the apex of speed on a wave.
Stay Close to the Pocket (“S” Turns)
Staying close to the energy source (the pocket) is a key factor in maintaining speed, for as the closer you are to the curl or epicenter of the waves power source the faster you will go. The wave will dictate what your next move is but in this little piece I’m going to explain how to keep your speed or if need be, even go faster. (I’ll cover slowing down / cutbacks at another time).
The classic “S” turn, or as we surfers say a lot “pumping down the line,” are terms for generating and keeping our board speed high. The “S” turn is really quite simple and I equate it to a coiled spring that contracts and expands. If you’ve ever watched a surf movie, or perhaps above average surfers at the beach, you notice this when the surfers are “pumping” or expanding and contracting like a coil to gain speed on a wave. While going high on the wave then low, then high, then low – ”pumping” their legs from a bent (contracted) to extended (expand) position in rapid succession – they are creating the speed needed to go faster down the line of the wave.
Keep Your Board Clean (and Fins)
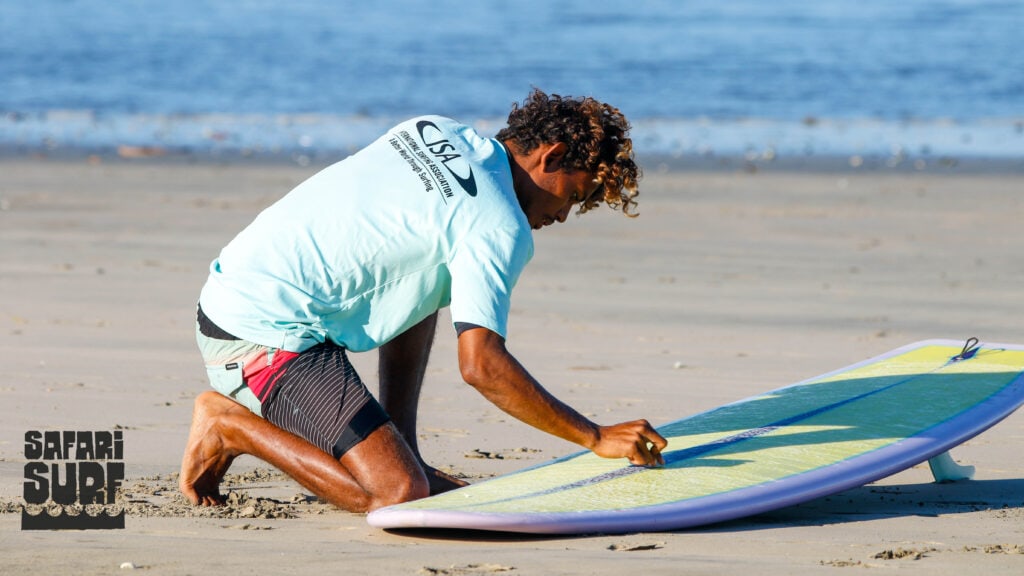
Make sure to clean the bottom of your board. This will help you move faster on the water. Believe it or not but I see people all the time with wax marks on the bottom of their boards from boards laying on each other, or whatever other reason. Your fins also have a lot to do with speed, as does the design of your surfboard (yet another article topic coming soon).
IMG_4849v2-1
Relax and Watch
I cannot emphasize to you how important it is to watch other surfers in the line up. This is a great way to see other people’s styles and also how they “read” the wave while surfing it. Of course this is also a great way to self-teach, too. Just relax and let the waves come to you. Like anything else, practice, practice, practice each maneuver until you have the confidence to know that you can execute whenever you need them. Aloha!